Creating a Payment in the UI
Creating a payment
To create a payment in the Payments Orchestrator UI, you will first log in at app.victorfi.com.
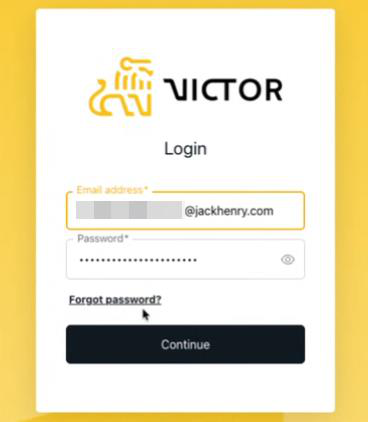
Once logged in, you will be on our homepage.
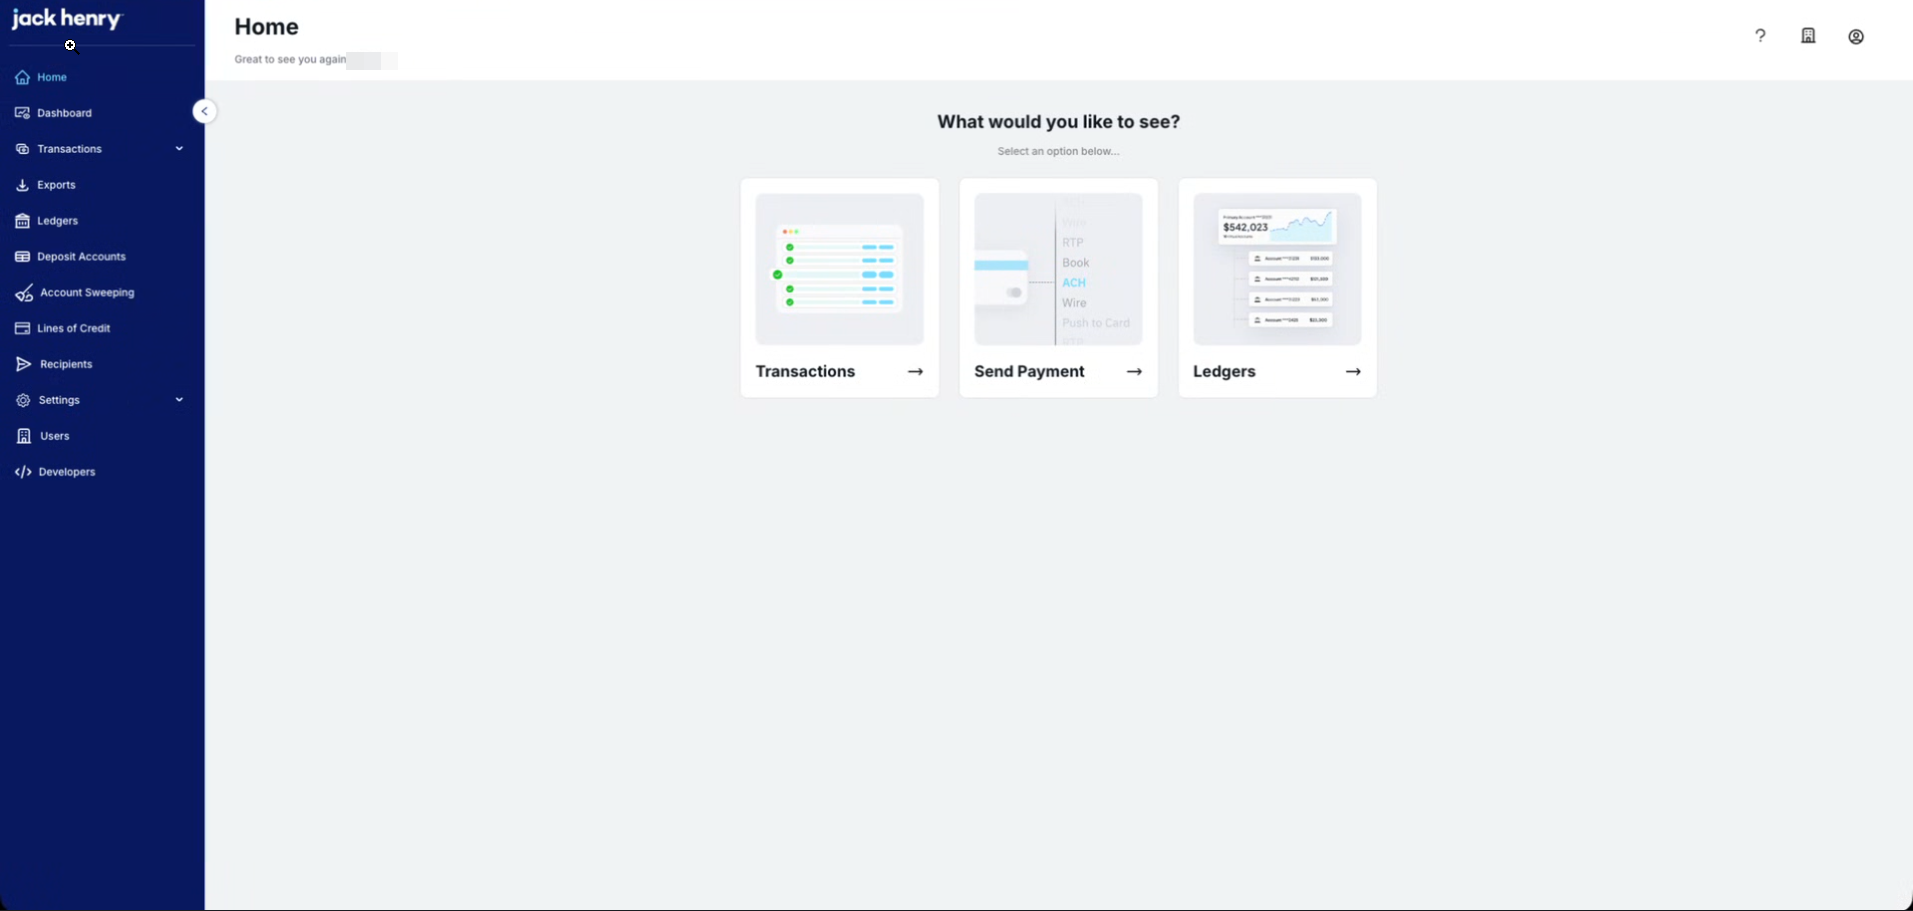
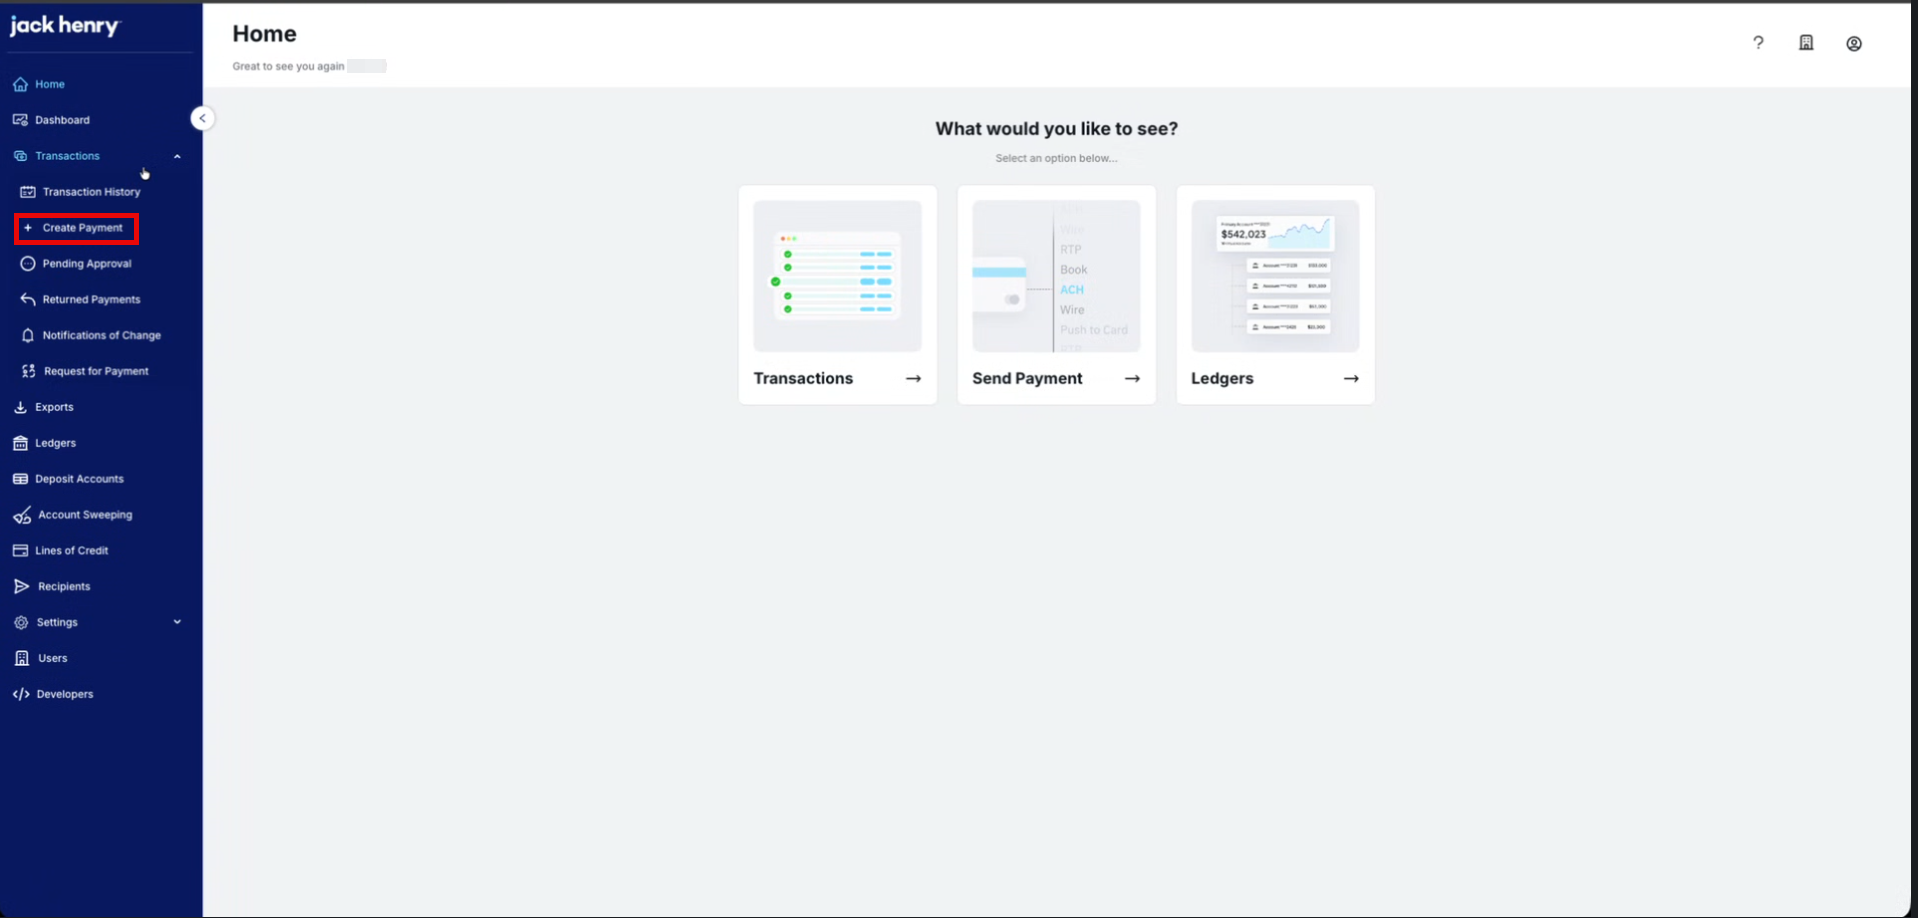
You will then click the Transactions drop down on the left and click Create Payment. Note that only user roles with the ‘Create new payment’ permission will be able to create payments (see User Roles).
Once on the page, you will be able to select what type of payment: ACH, Wire, Instant Payment (RTP/FedNow), or Book Transfer. Payment types will be available per what has been approved by your sponsor bank.
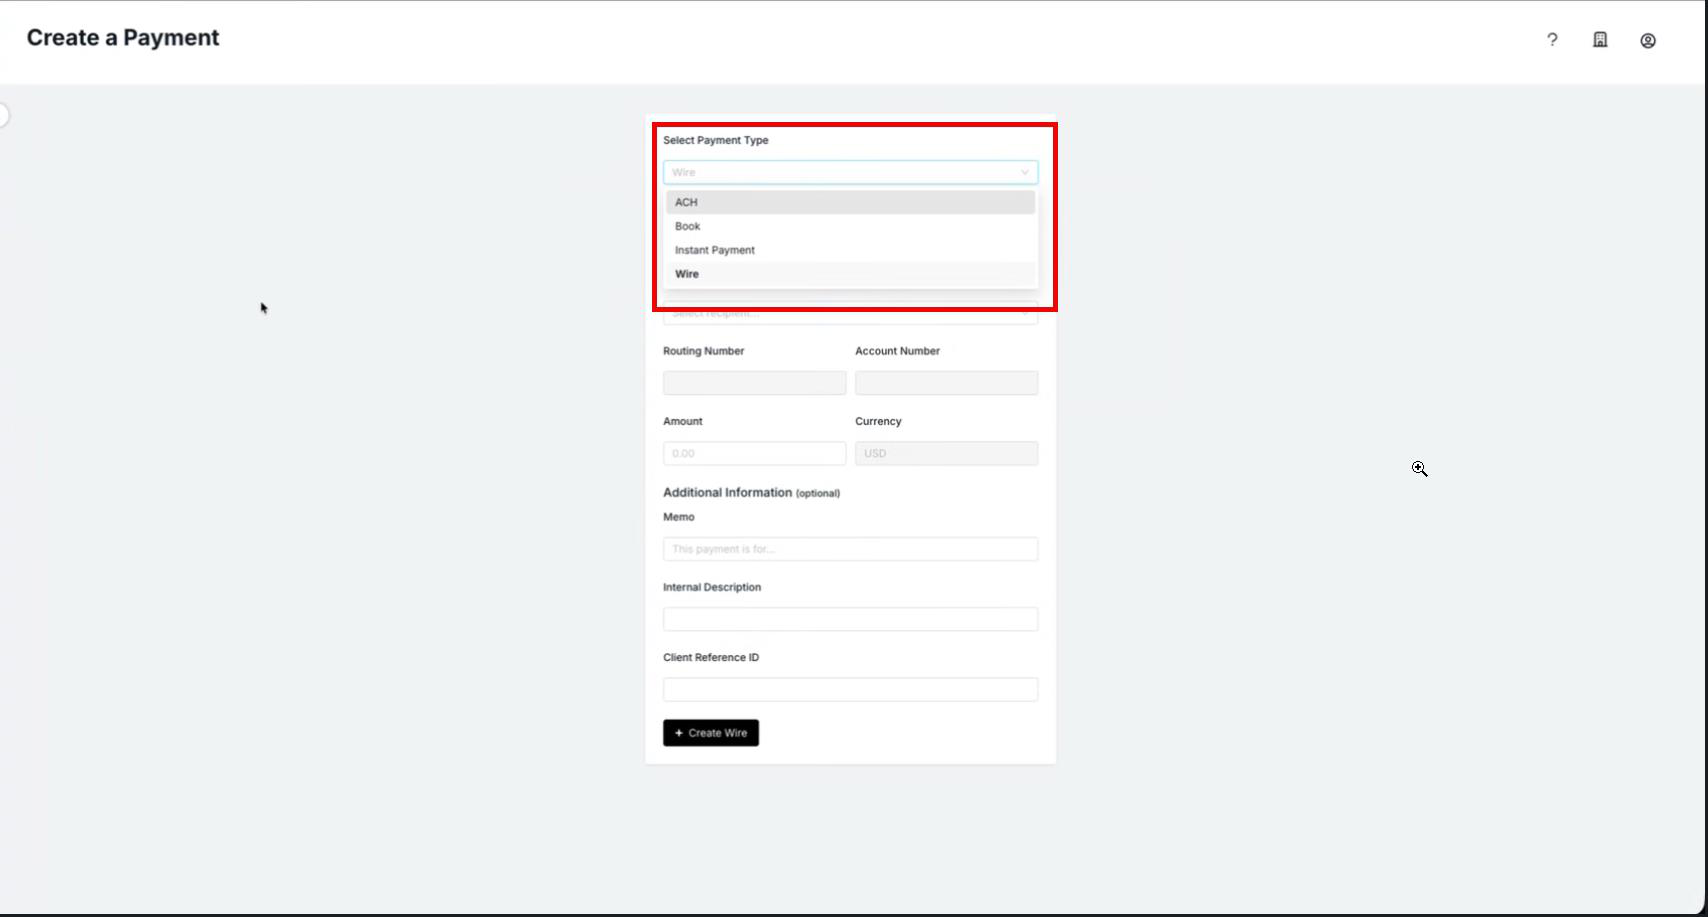
The payment information fields will update based on payment method. Once you have selected the payment type, you will input the payment instructions. You will select the ‘From’ account from your dropdown.
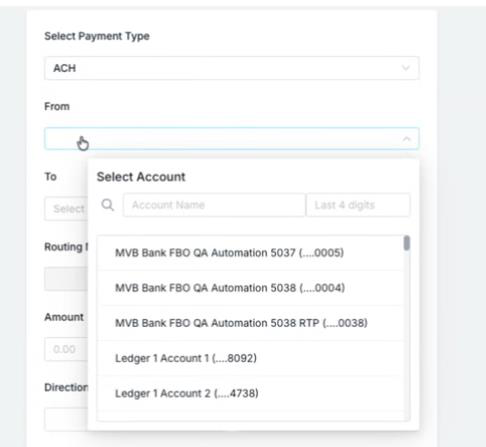
When a ‘From’ account is selected, the UI will show the available balance of that account.
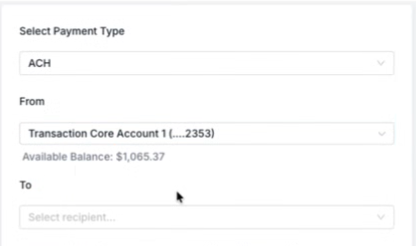
Then you will select the pay ‘To’ field from your dropdown.
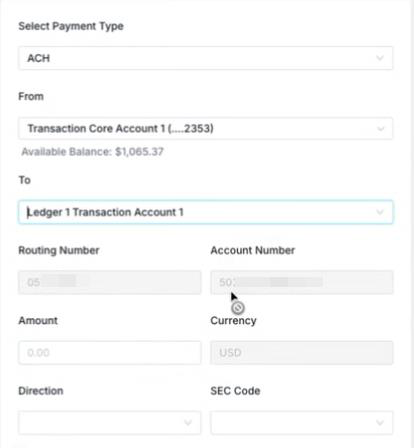
The routing number, account number, and currency type are auto filled in based on the recipient (counterparty) already created. For ACH, you will be able to select the SEC Code.
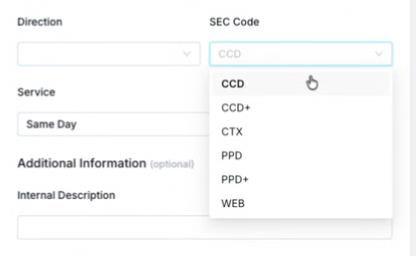
Then the direction.
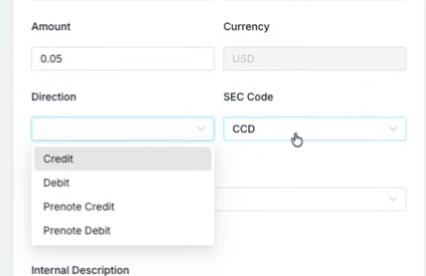
You will also select if this is a same day or next day entry. The Additional Information section is optional but it is a best practice to input data in these fields.
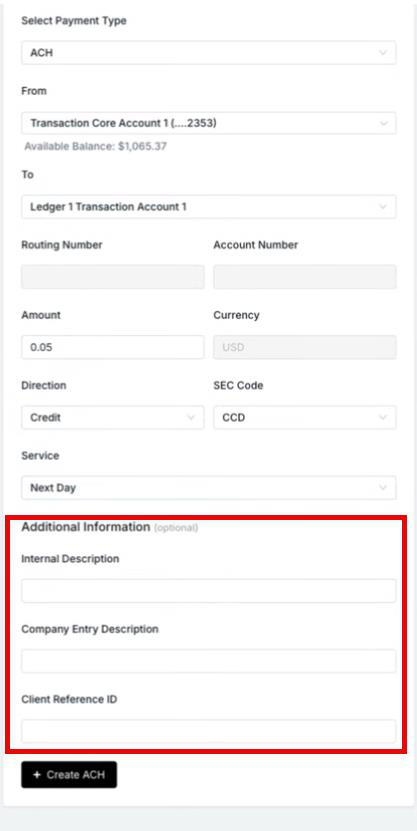
| Field | Description |
|---|---|
| Internal Description | Populates an internal description within the payment. Viewable in the UI, and in the metadata of the transaction. It is not sent with the payment to the recipient. |
| Company Entry Description | 10 digits in length. This field is sent with the payment to the recipient bank (RDFI). |
| Client Reference ID | 128 digits in length. This is typically your transaction reference. It is paired with the transaction metadata but is not sent with the payment to the recipient. It will show in reporting, and webhooks for the created transaction. |
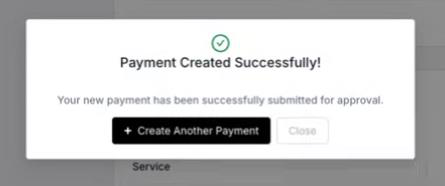
Click Create at the bottom, and you will receive a success message.
Examples of the other payment type screens
Book
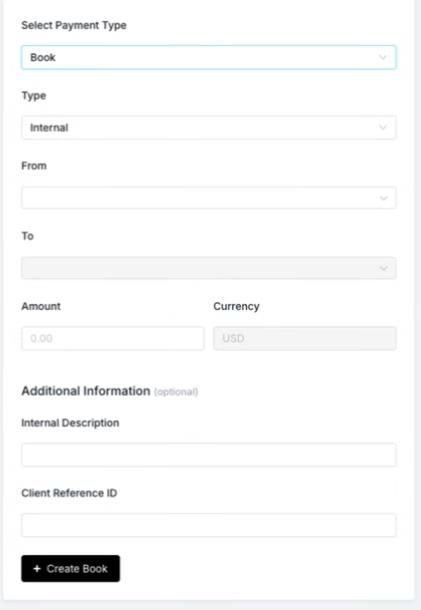
| Field | Description |
|---|---|
| Internal Description | Populates an internal description within the payment. Viewable in the UI, and in the metadata of the transaction. It is not sent with the payment to the recipient. |
| Client Reference ID | 128 digits in length. This is typically your transaction reference. It is paired with the transaction metadata but is not sent with the payment to the recipient. It will show in reporting, and webhooks for the created transaction. |
Instant Payment
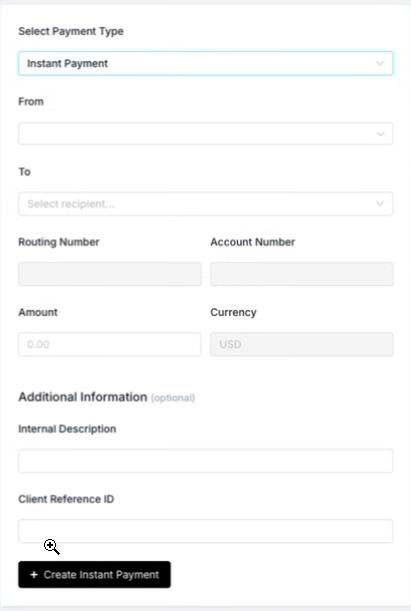
| Field | Description |
|---|---|
| Internal Description | Populates an internal description within the payment. Viewable in the UI, and in the metadata of the transaction. It is not sent with the payment to the recipient. |
| Client Reference ID | 128 digits in length. This is typically your transaction reference. It is paired with the transaction metadata but is not sent with the payment to the recipient. It will show in reporting, and webhooks for the created transaction. |
Wire
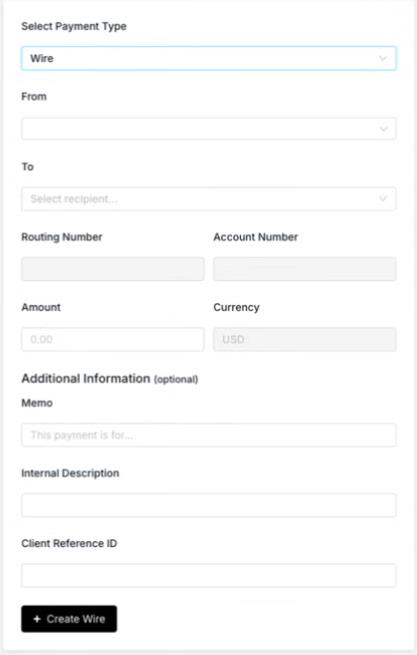
| Field | Description |
|---|---|
| Memo | The Beneficiary reference. It is paired with the transaction metadata and is sent with the payment to the recipient bank (RDFI). |
| Internal Description | Populates an internal description within the payment. Viewable in the UI, and in the metadata of the transaction. It is not sent with the payment to the recipient. |
| Client Reference ID | 128 digits in length. This is typically your transaction reference. It is paired with the transaction metadata but is not sent with the payment to the recipient. It will show in reporting, and webhooks for the created transaction. |
Approving a transaction
Transactions that are created will need to be approved by another user on the platform. It cannot be approved by the same user who created the payment. The secondary user will log into the system and navigate to Pending Approval under Transactions.
Note that this second user must have a user permission of either Admin, or Approver. See User Roles.
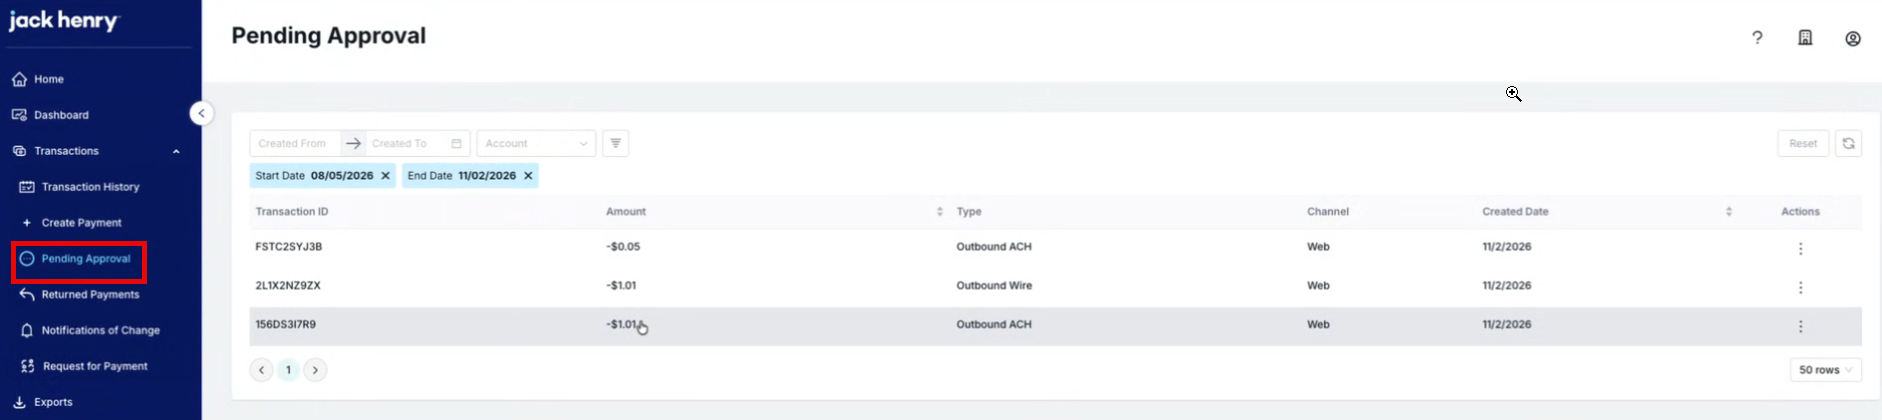
Once there, you will see a list of all transactions that need to be approved. Select the three dots under the Actions column, and select Approve or Deny.

Once you click Approve, you will be shown a screen with some transaction details. Click Approve.
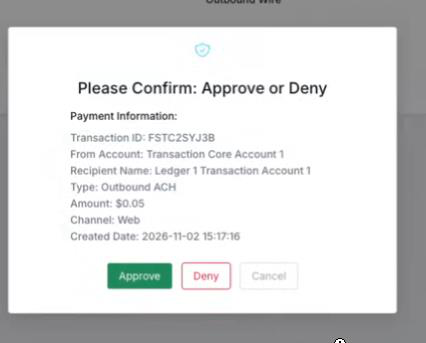
When you click Approve, you will then be prompted to enter your 4-digit PIN.
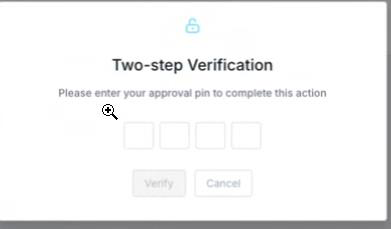
Type in the PIN and click Verify, and you will see confirmation.
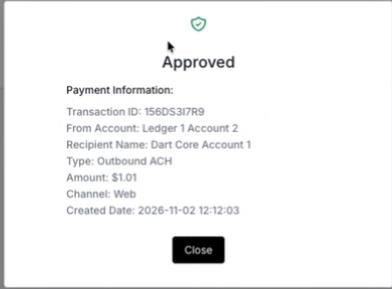
Setting up a PIN
If you have not set up a PIN before, you will need to set up a PIN by going to Approval PIN under Settings.
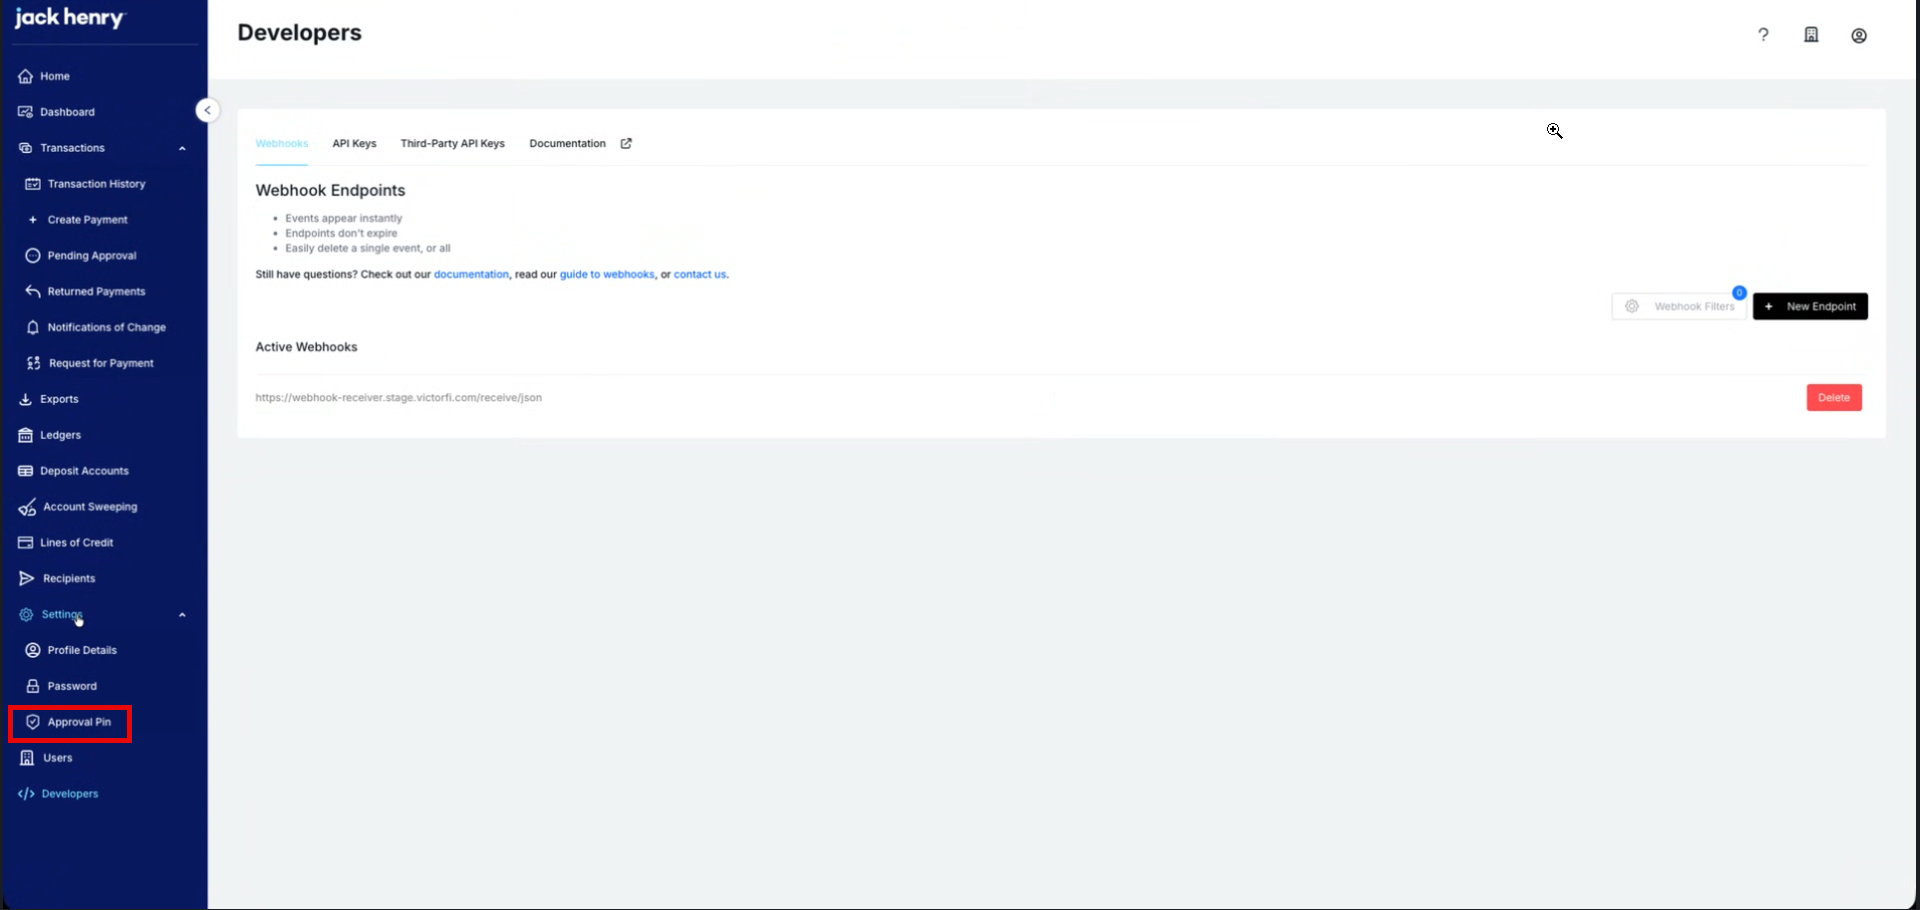
You will then be prompted to enter a New PIN, and then confirm that new PIN.
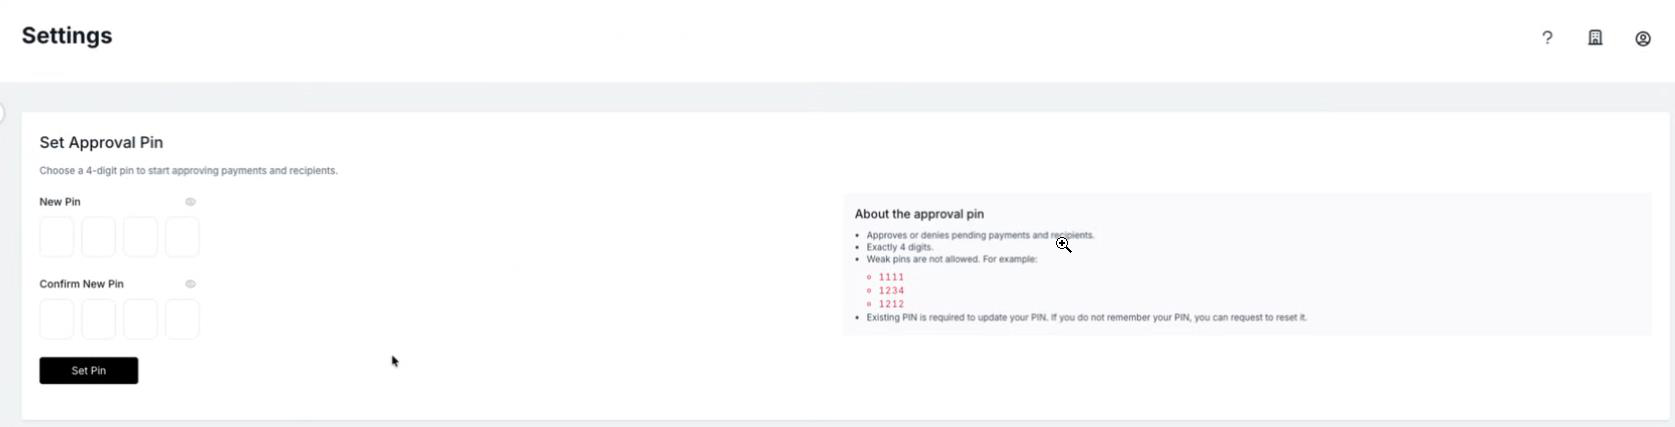
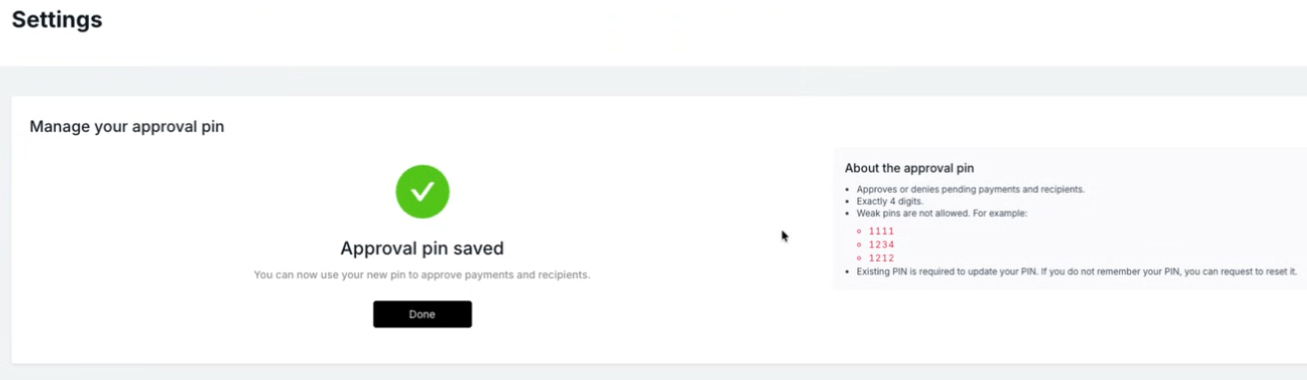
Once you click Set PIN, you will see confirmation.
If you do need to change or reset the PIN, you will go to the Approval Pin page again, and select Change or Reset.
