How to Create a Banno Plugin (Basic)
In this basic tutorial, we’ll explore the fundamental framework of a Banno plugin. Additionally, we’ll demonstrate how to incorporate a simple, third-party test API. This will help you grasp how to seamlessly blend external (non-Banno) resources within your own plugins.
Upon completing this tutorial, you’ll be well-equipped to integrate third-party APIs within your own creations. Ready to dive in? Let’s get started!
What we’re building
We are building a Banno plugin using Node.js and an express server. The aim of this tutorial is to showcase how you can fetch dynamic data from external APIs using asynchronous requests in Node.js. We’ll be utilizing the ‘HTTP Cats’ API, which provides images for HTTP status codes. Our plugin will make a request to this external API, fetch the response status code, and render a dynamic HTML page, based on whether the API request was successful or not.
The simplicity of this app serves to illustrate the potential for creating more complex Banno plugins that fetch, process, and present dynamic data from external APIs.
The code for this plugin example also requires no configuration, so it can also be used to test whether or not your environment is configured correctly.
Prerequisites
Before you get started, you’ll need the following:
- The back office administrator at your financial institution who has access to Banno People
Are you a financial institution?
If you are a financial institution or working directly with a financial institution, you should work with
the back office administrator at your institution to get appropriate access to Banno People.
Are you a fintech or independent developer?
If you are a fintech or other developer working without a financial institution, you are likely using the
JackHenry.Dev developer portal. In this case, you will not have access
to Banno People, however you will still have the ability to create and configure many aspects of your
external application and plugin.
For more information on this, see our troubleshooting page.
When referencing Banno People it’s important to understand that the intent is to point you towards the place where you can update configurations. If you are using JackHenry.dev the experience will be slightly different.
Set up the plugin
External application
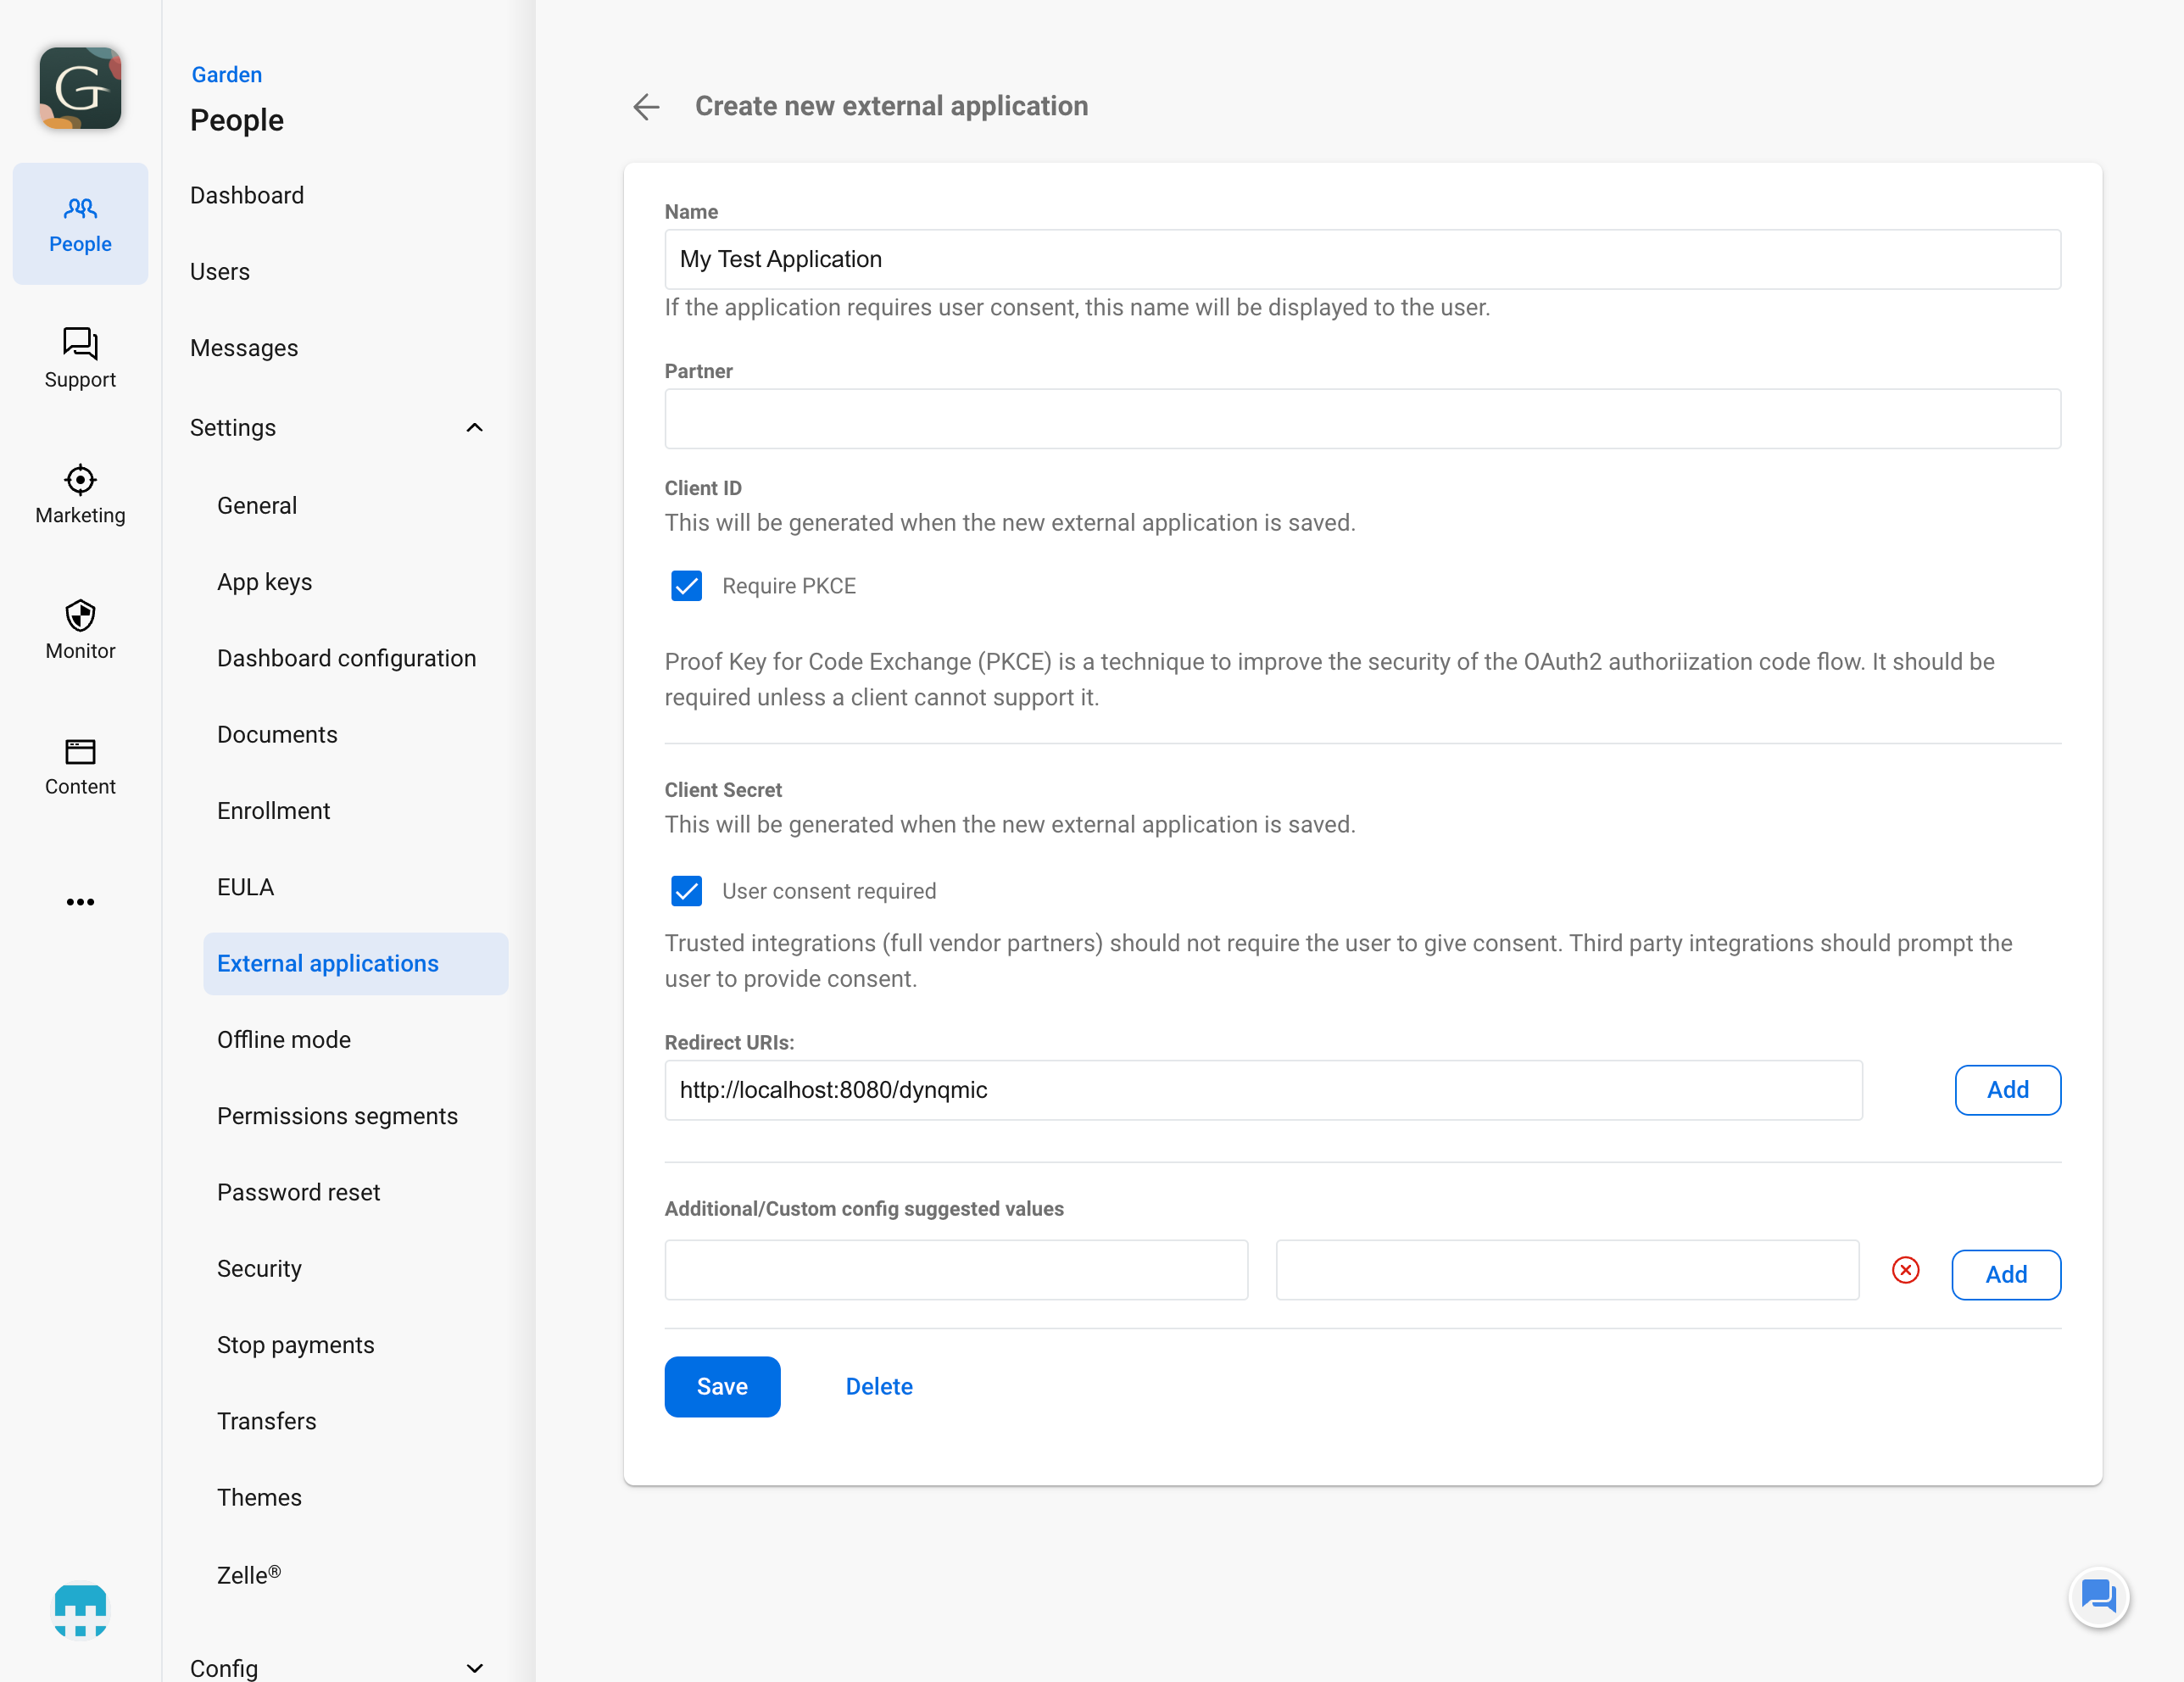
You’ll need to configure an External Application in the External applications section of the Banno People app.
For this example, change the following values:
- Create a new external app
- Enter a custom name (ex. My Test Application)
- Uncheck User consent required (since we are building a Plugin Card)
- Click Save
- Select PluginCard as the link type
- Enter a title for the link (ex. Basic Plugin Example)
- Enter http://localhost:8080/dynamic for the redirect URI (Note: You may need to change this if you alter the port number later)
- Select Enabled to enable the plugin for users (if you do not enable for all users, you will need to use the User Permissions function to enable for select users)
Plugin configuration
Required steps
You’ll need to create the Plugin Configuration in the Dashboard configuration section of the Banno People app.
- Click Add an item to add a new item to the dashboard configuration
- Scroll to the bottom and click Create a plugin
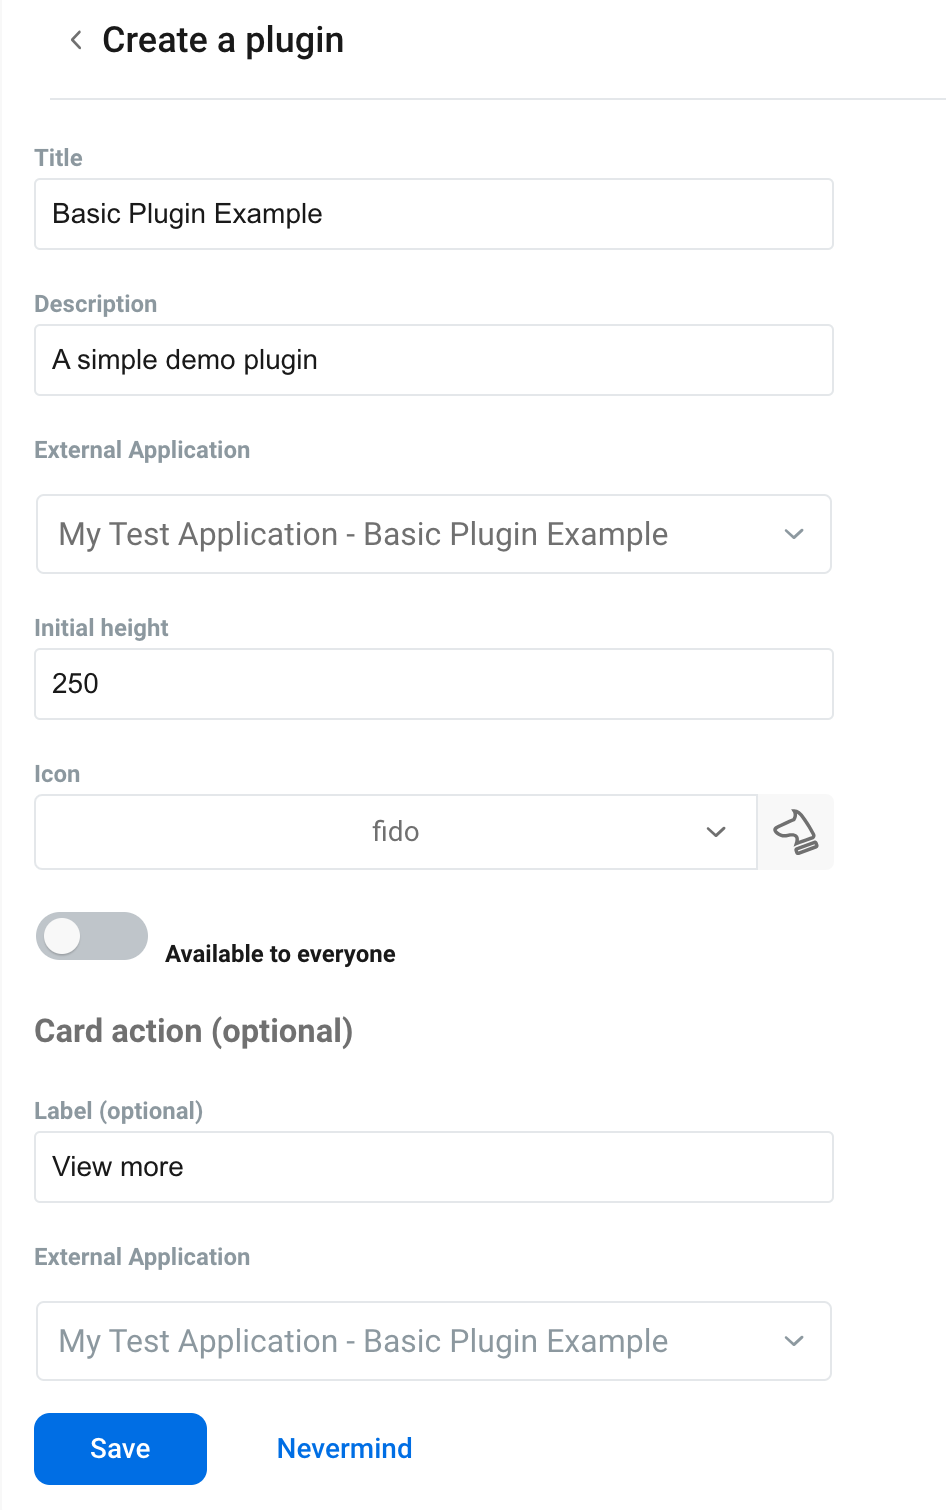
You will be prompted to enter details about your plugin.
- Title: Basic Plugin Example
- Description: A simple demo plugin
- External Application: My Test Application - Basic Plugin Example (This is the name we used when configuring the external application above)
- Initial height: 250
- Icon: fido (this can be anything)
Optional steps
For this example, change the following values:
- Label: View more
- External Application: My Test Application - Basic Plugin Example
Dashboard configuration
Clicking the save button will create the plugin configuration.
The administrator can make it available for your users to add to their dashboard.
- Click Add an item again – this time select the plugin you created
- Make sure to click Save to preserve your new dashboard configuration
Enable plugin card for user
As mentioned in the note above, if you don’t want the plugin enabled for ALL users, we need to select which users to enable the Plugin Card for.
- From Banno People, click the Users and search by username.
- Click on the user
- Click Permissions
- Find and enable the plugin under Plugin cards
The user will now have the plugin available to them in the Banno Online dashboard.
Running the plugin
Start by cloning the repository, Basic Plugin Example.
After cloning the repository, run npm install from the directory of the app (/basic-plugin-example) to install all of the dependencies.
The code
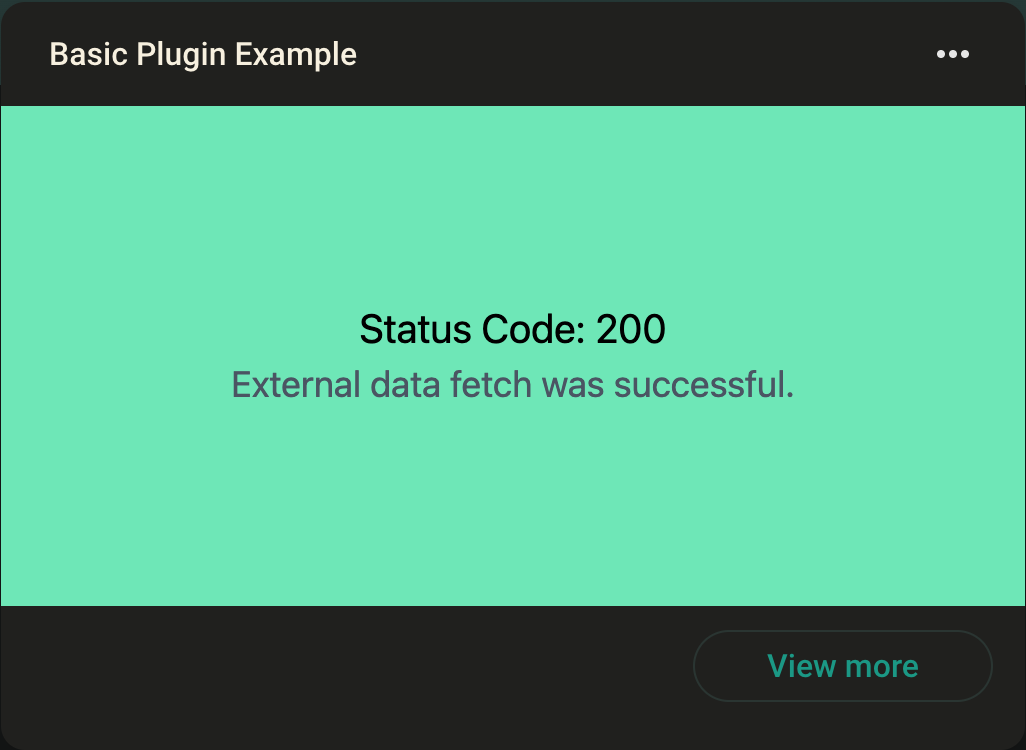
The basic plugin example does one thing, makes a request to an example API and displays information based on the success or failure of the request. The core of the plugin is driven by this section of the code:
const response = await fetch('https://http.cat/status/200');
      // Fetch the status code from the response
      const response_code = await response.status;
      // If the response status code is 200 (OK), send data to the UI template with a success message
      if (response_code == 200) {
        res.render('pages/dynamic', { response_code: response_code, message: "External data fetch was successful." });
      } else {
        // If the response status code is not 200, send data to the UI template with a failure message
        res.render('pages/dynamic', { response_code: response_code, message: "External data fetch was unsuccessful. This is an error state for your plugin." });
      }
The plugin is designed to have a fail state, in case there is an issue with the request, however, unless the example API is down, this should never be used.
Running the plugin
When ready, simply run npm run start from the root directory of the plugin. This will start the server on port 8080 of your machine.
You’ll see this log statement in the terminal:
App running at http://localhost:8080
Now, navigate back to the Banno Online dashboard, you can see that the plugin now fetches and displays a message.
Next steps
Congratulations! Continue your learning journey:
If you would like to expand on this plugin, some ideas you can borrow as inspiration:
- Follow the Build Your First Plugin Quickstart in order to add in user authentication and filter announcements based on user information.
- Explore the Building an Announcements Plugin with Airtable tutorial
- Have a how-to question? Seeing a weird error? Get help on StackOverflow.
- Register for the Developer Office Hours where we answer technical Q&A from the audience.